User Guide: Creating a lesson with a timed question using the multiple choice template
When editing a lesson in the authoring tool, content admins and instructional designers have the option of setting a timer on interactive templates. Setting a timer restricts the amount of time learners have to answer a question within a template.
Step-by-step guide to creating lessons with timed questions
In this step-by-step guide, we will walk you through how to add a time limit to a multiple-choice template.
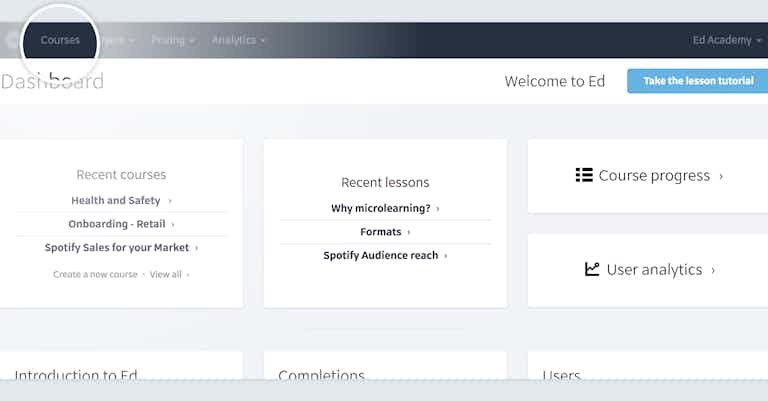
- Once you’ve logged in to admin.edapp.com, select Courses in the top left hand corner. This will take you to the courses page, where you can organise and edit your content.
- Select an existing course, or create a new course by selecting Create a new course in the top right.
- From the course page, choose an existing lesson title or select Create a new lesson.
- Select Edit lesson content on the right side of the page. This will launch the authoring tool for this particular lesson.
- Once in the authoring tool, select Add a new slide in the bottom right hand corner of the page. This will open the Template Library.
- Select the Multiple Choice category, scroll down and select the Multiple Choice template.
- Fill in the blank fields with the content of your choice.
- When your content is added, scroll down to last section titled Timer.
- By default there is no time limit. Set timer limit to your liking. Generally around 15 seconds works well for most templates. The timing for each template is in milliseconds. Use a positive number and check the lesson preview. Read the question slowly to ensure you have given your learners enough time to complete the slide.
- Make sure you save any changes before leaving the authoring tool.
That’s it! You can use these instructions to add a timer to any interactive template.
Curated course examples
Author
Guest Author Daniel Brown
Daniel Brown is a senior technical editor and writer that has worked in the education and technology sectors for two decades. Their background experience includes curriculum development and course book creation.